


Creating invoices using MS Word is not an overly complicated task, only if you know the right steps. But if you don't know the 'hows’, then tag along.
In this guide, we have mapped out the step-by-step instructions for how to make an invoice in Word using templates and from scratch.
We'll also talk about how to get you paid faster!
How to make an invoice in Word using a template?
Templates are the pre-outlined documents that save you the effort and time of creating invoices from scratch. Following are the simple steps on how to make an invoice in Word using a template.
Step 01: Open the template in MS Word
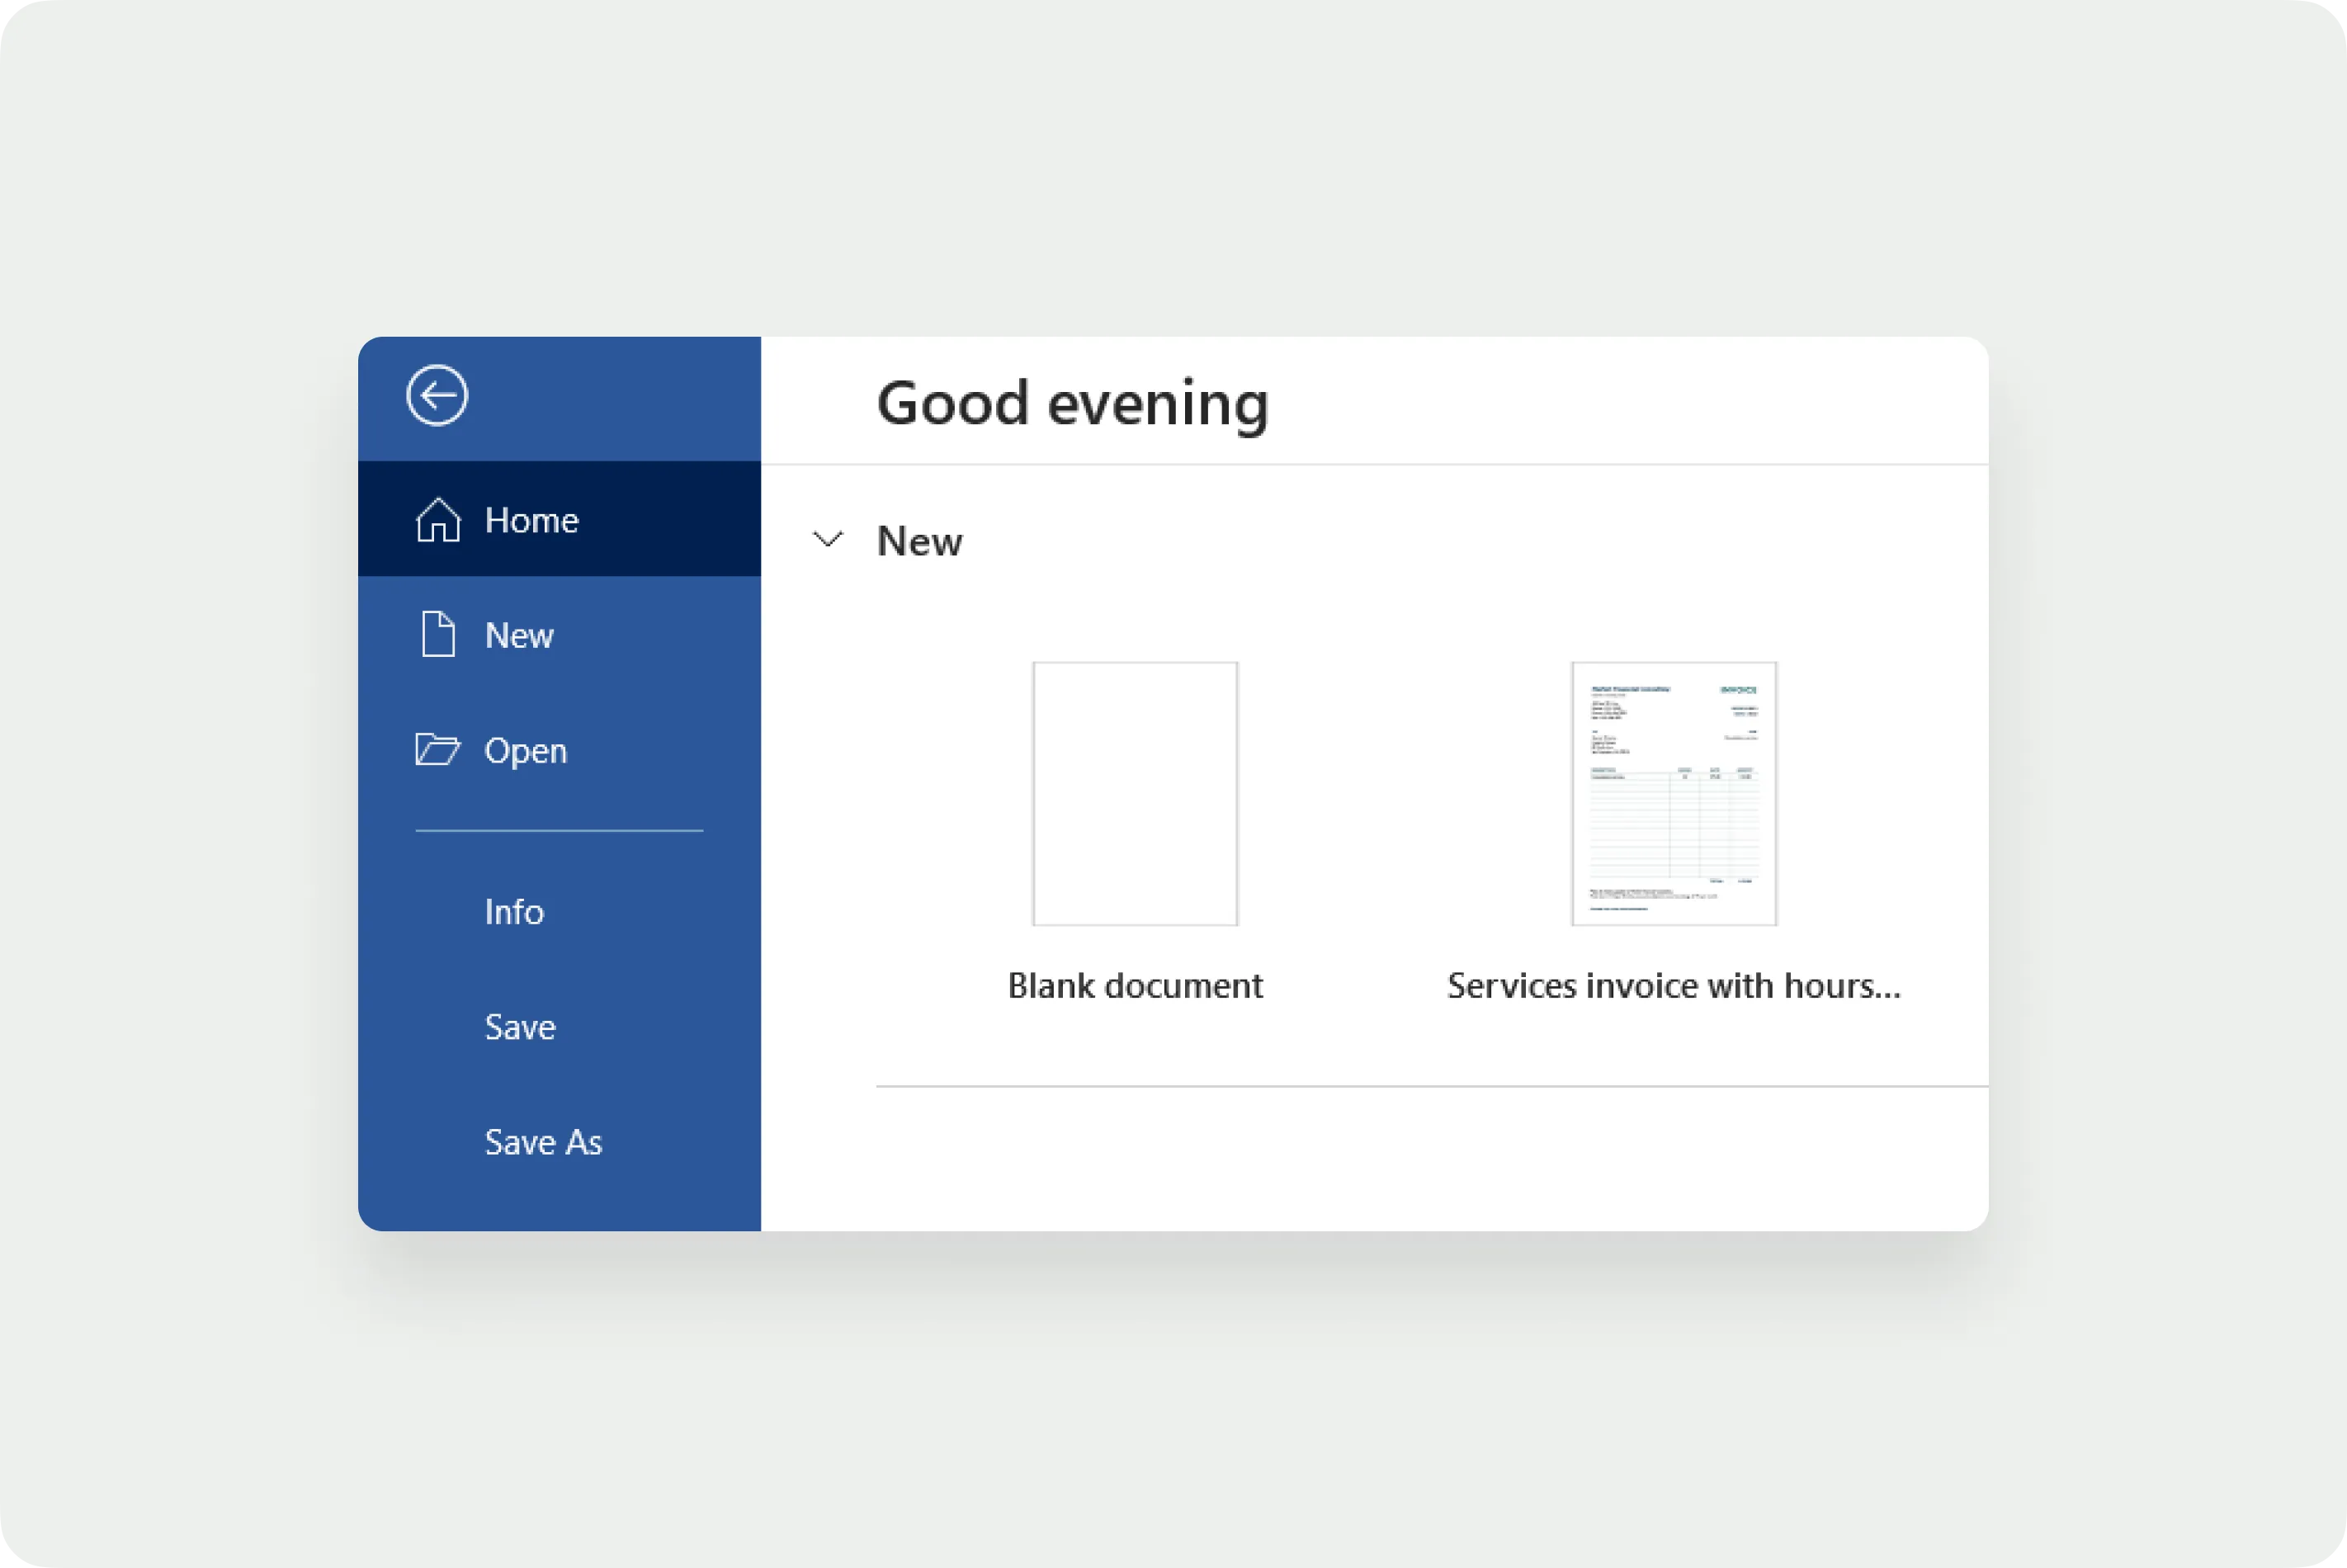
When you open MS Word, it'll redirect to the document gallery. If it doesn't, simply click on the "File" button on the menu bar.
On the top row, there are suggested templates. Just below the templates, on the right side of your screen, is a small button, "more templates" click on it.
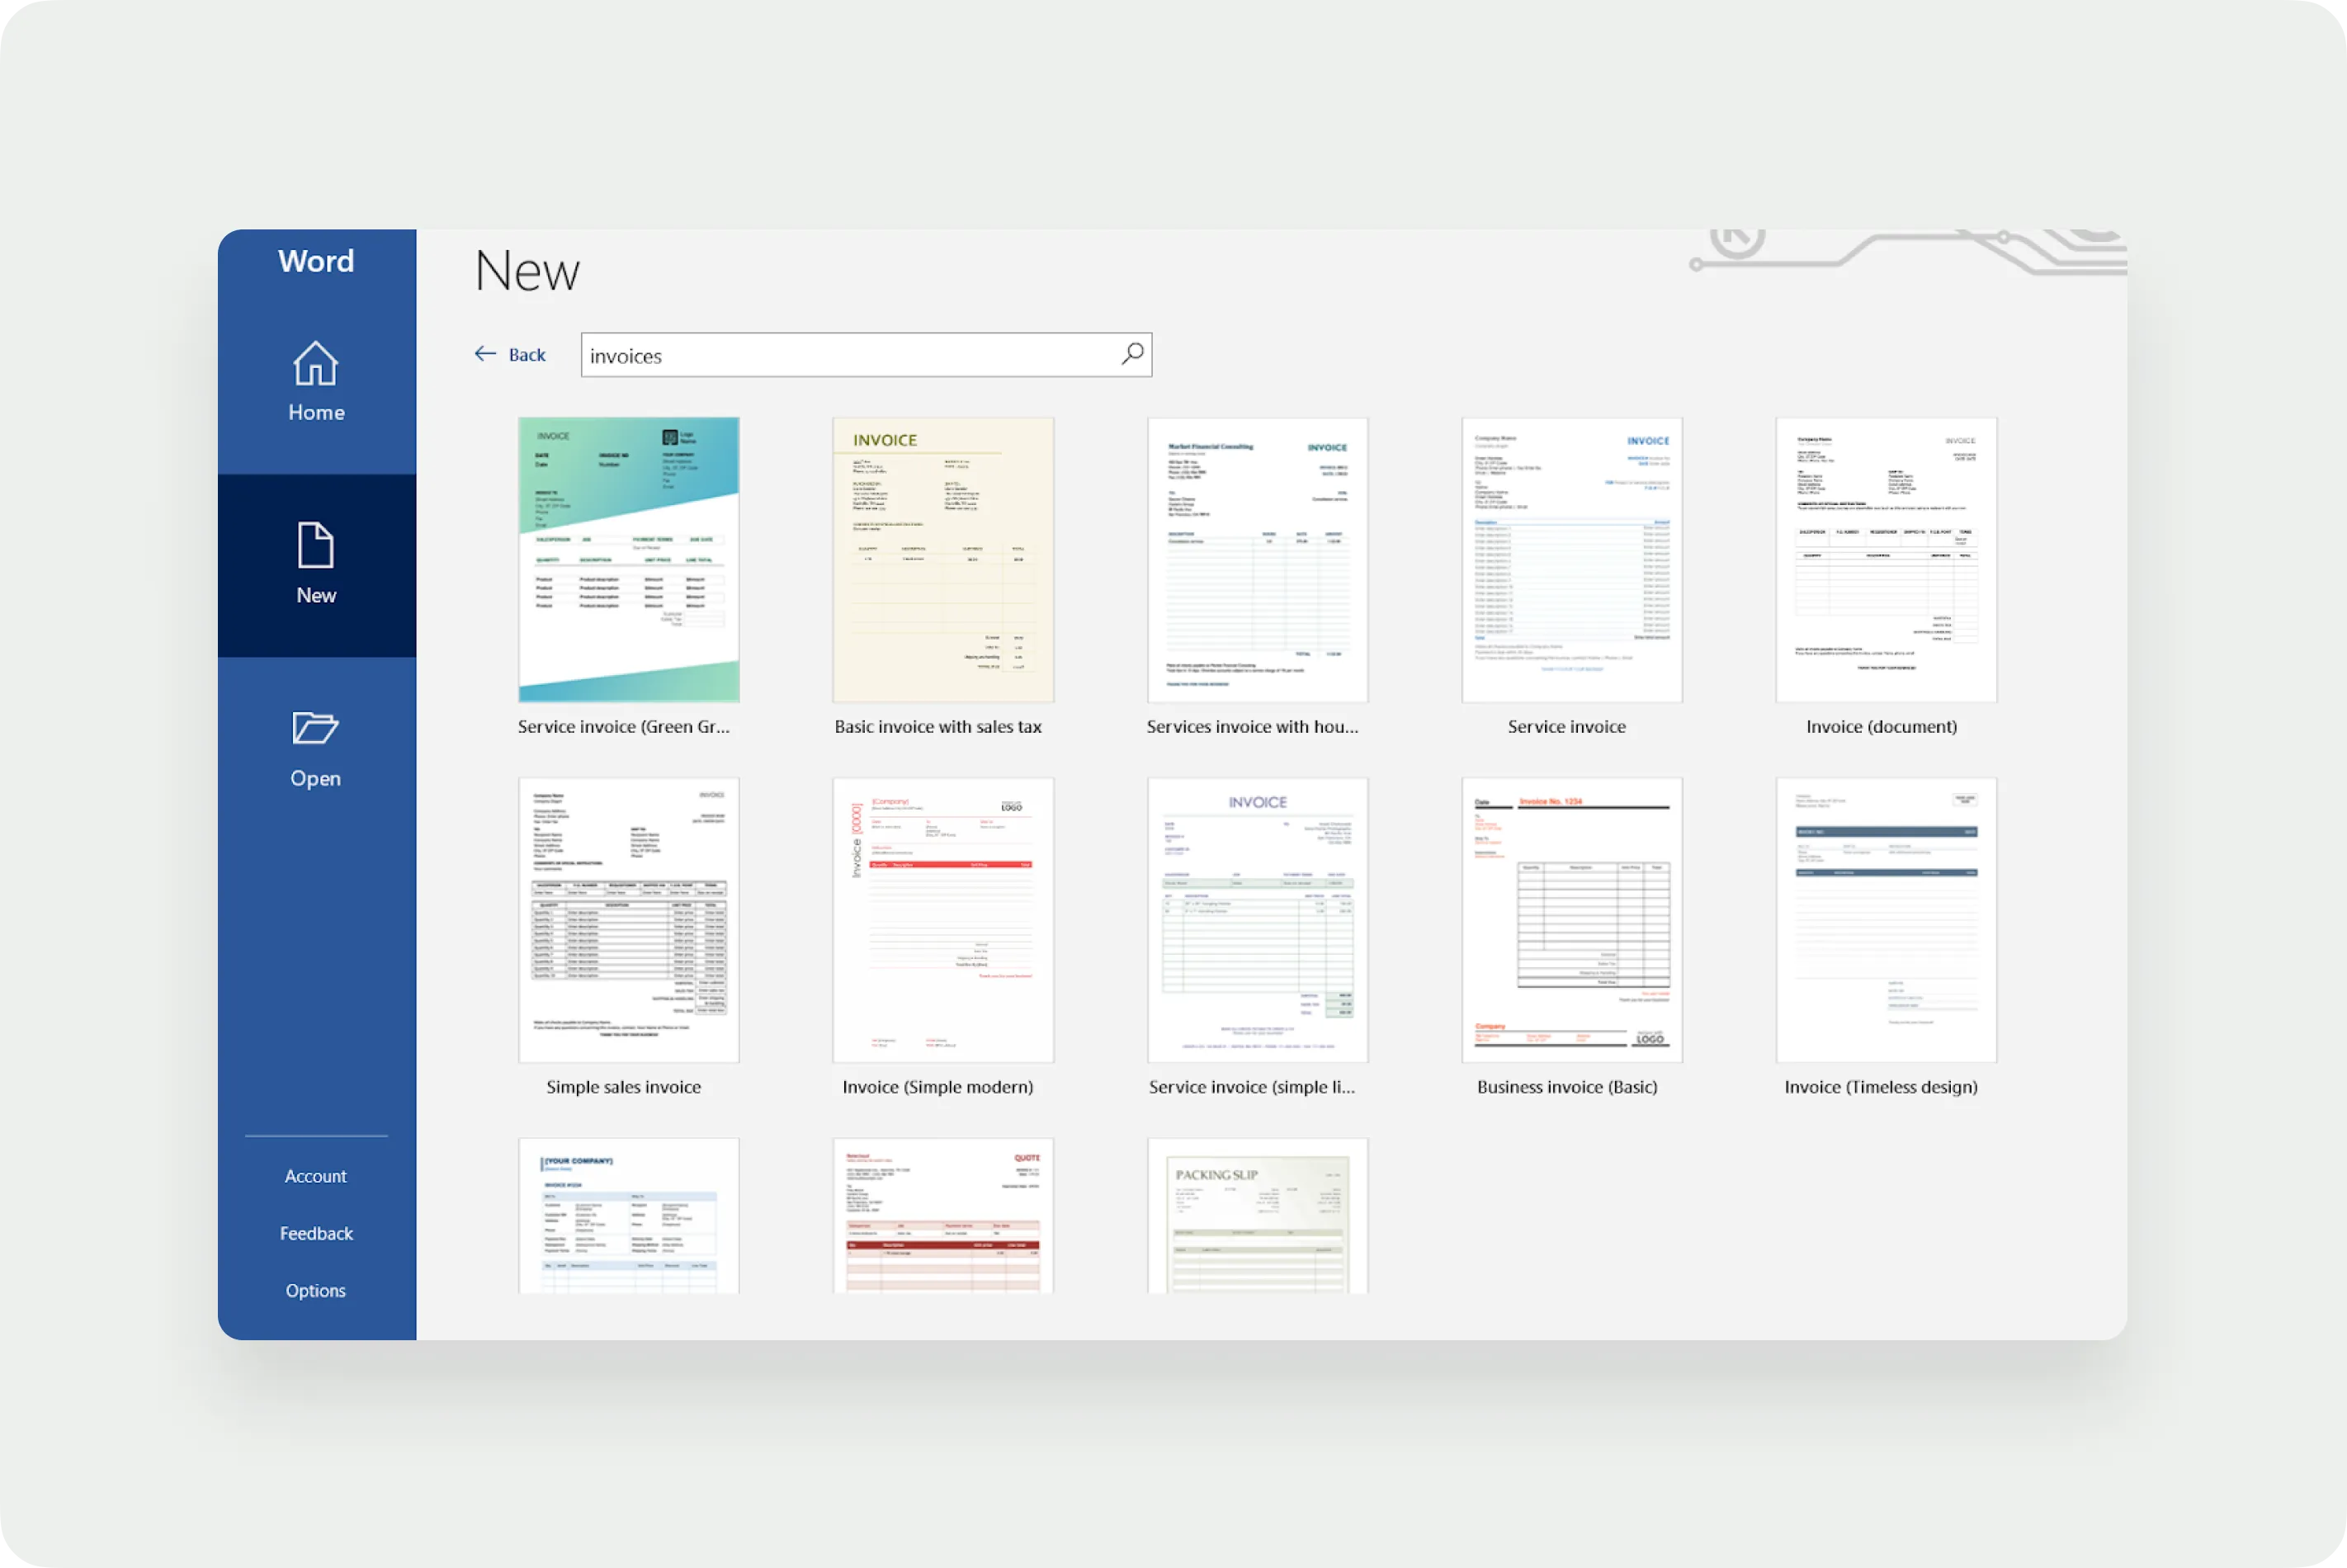
Step 02: Search and pick your invoice template
Once you open the template page, you get access to more types of templates and search for invoice templates.
Type "invoices" in the search bar provided atop all the templates. Select an invoice template.
Pro tip: Look for an invoice template that outlines your relevant information; it'll save you time and effort when editing.
Step 03: Customize the invoice
Once you find an ideal invoice template, start editing. You can change the document font and color as per your preference or resize things around to adjust all the important data within the document.
MS Word templates often provide pre-existing placeholder text, which are example texts that guide you through the editing process. However, depending on your industry or business, invoice elements may vary, and some templates may not even include them. So, ensure to include all the critical data manually.
Generally, your invoice should provide the following information:
- "Invoice" in the header for document identification
- Your business name and contact details; this includes your name, address, phone number, and email address
- Your business logo (if you have one)
- Your client's name and contact details
- Sequential and unique invoice number and invoice date
- An itemized list of the products or services, including the quantity, or number of hours worked, and the rate
- Subtotal and total of the due amount, plus any tax application
- Payment terms and conditions, including mode of payment and late payment fees
Step 04: Save and send the invoice

Once you are done with the editing, you save the invoice in your preferred format from the "save as" option in the "File" menu. You can either save it as a .docx or as a PDF file – as per your pick.
Once you save the document, it is set to send. You can send the invoice via whatever method is convenient to you – it could be through fax, email, or invoicing software, such as Bonsai.
Also Read: Free Sample Invoice Template in Excel
How to make an invoice in Word from scratch?
Using templates is easy and convenient. However, if you can't find a suitable template and want to create MS Word invoices from scratch, follow this step-by-step process.
Step 01: Open a blank document in Word
As mentioned before in the article, open MS Word; if it doesn't redirect to the document gallery, then click on the "File" button on the menu bar and open a blank document.
Step 02: Insert header
Start with the header, which includes "Invoice," specifying the document. Next, add your business details like your logo, address, contact number, email address, fax, etc. You can design this area to your liking with different fonts and colors.
Step 03: Add invoice date, number, and due date
Once you've entered your details, add the invoice date, due date, and invoice number. Make sure every invoice has a unique number for easy reference.
Step 04: Enter clients details
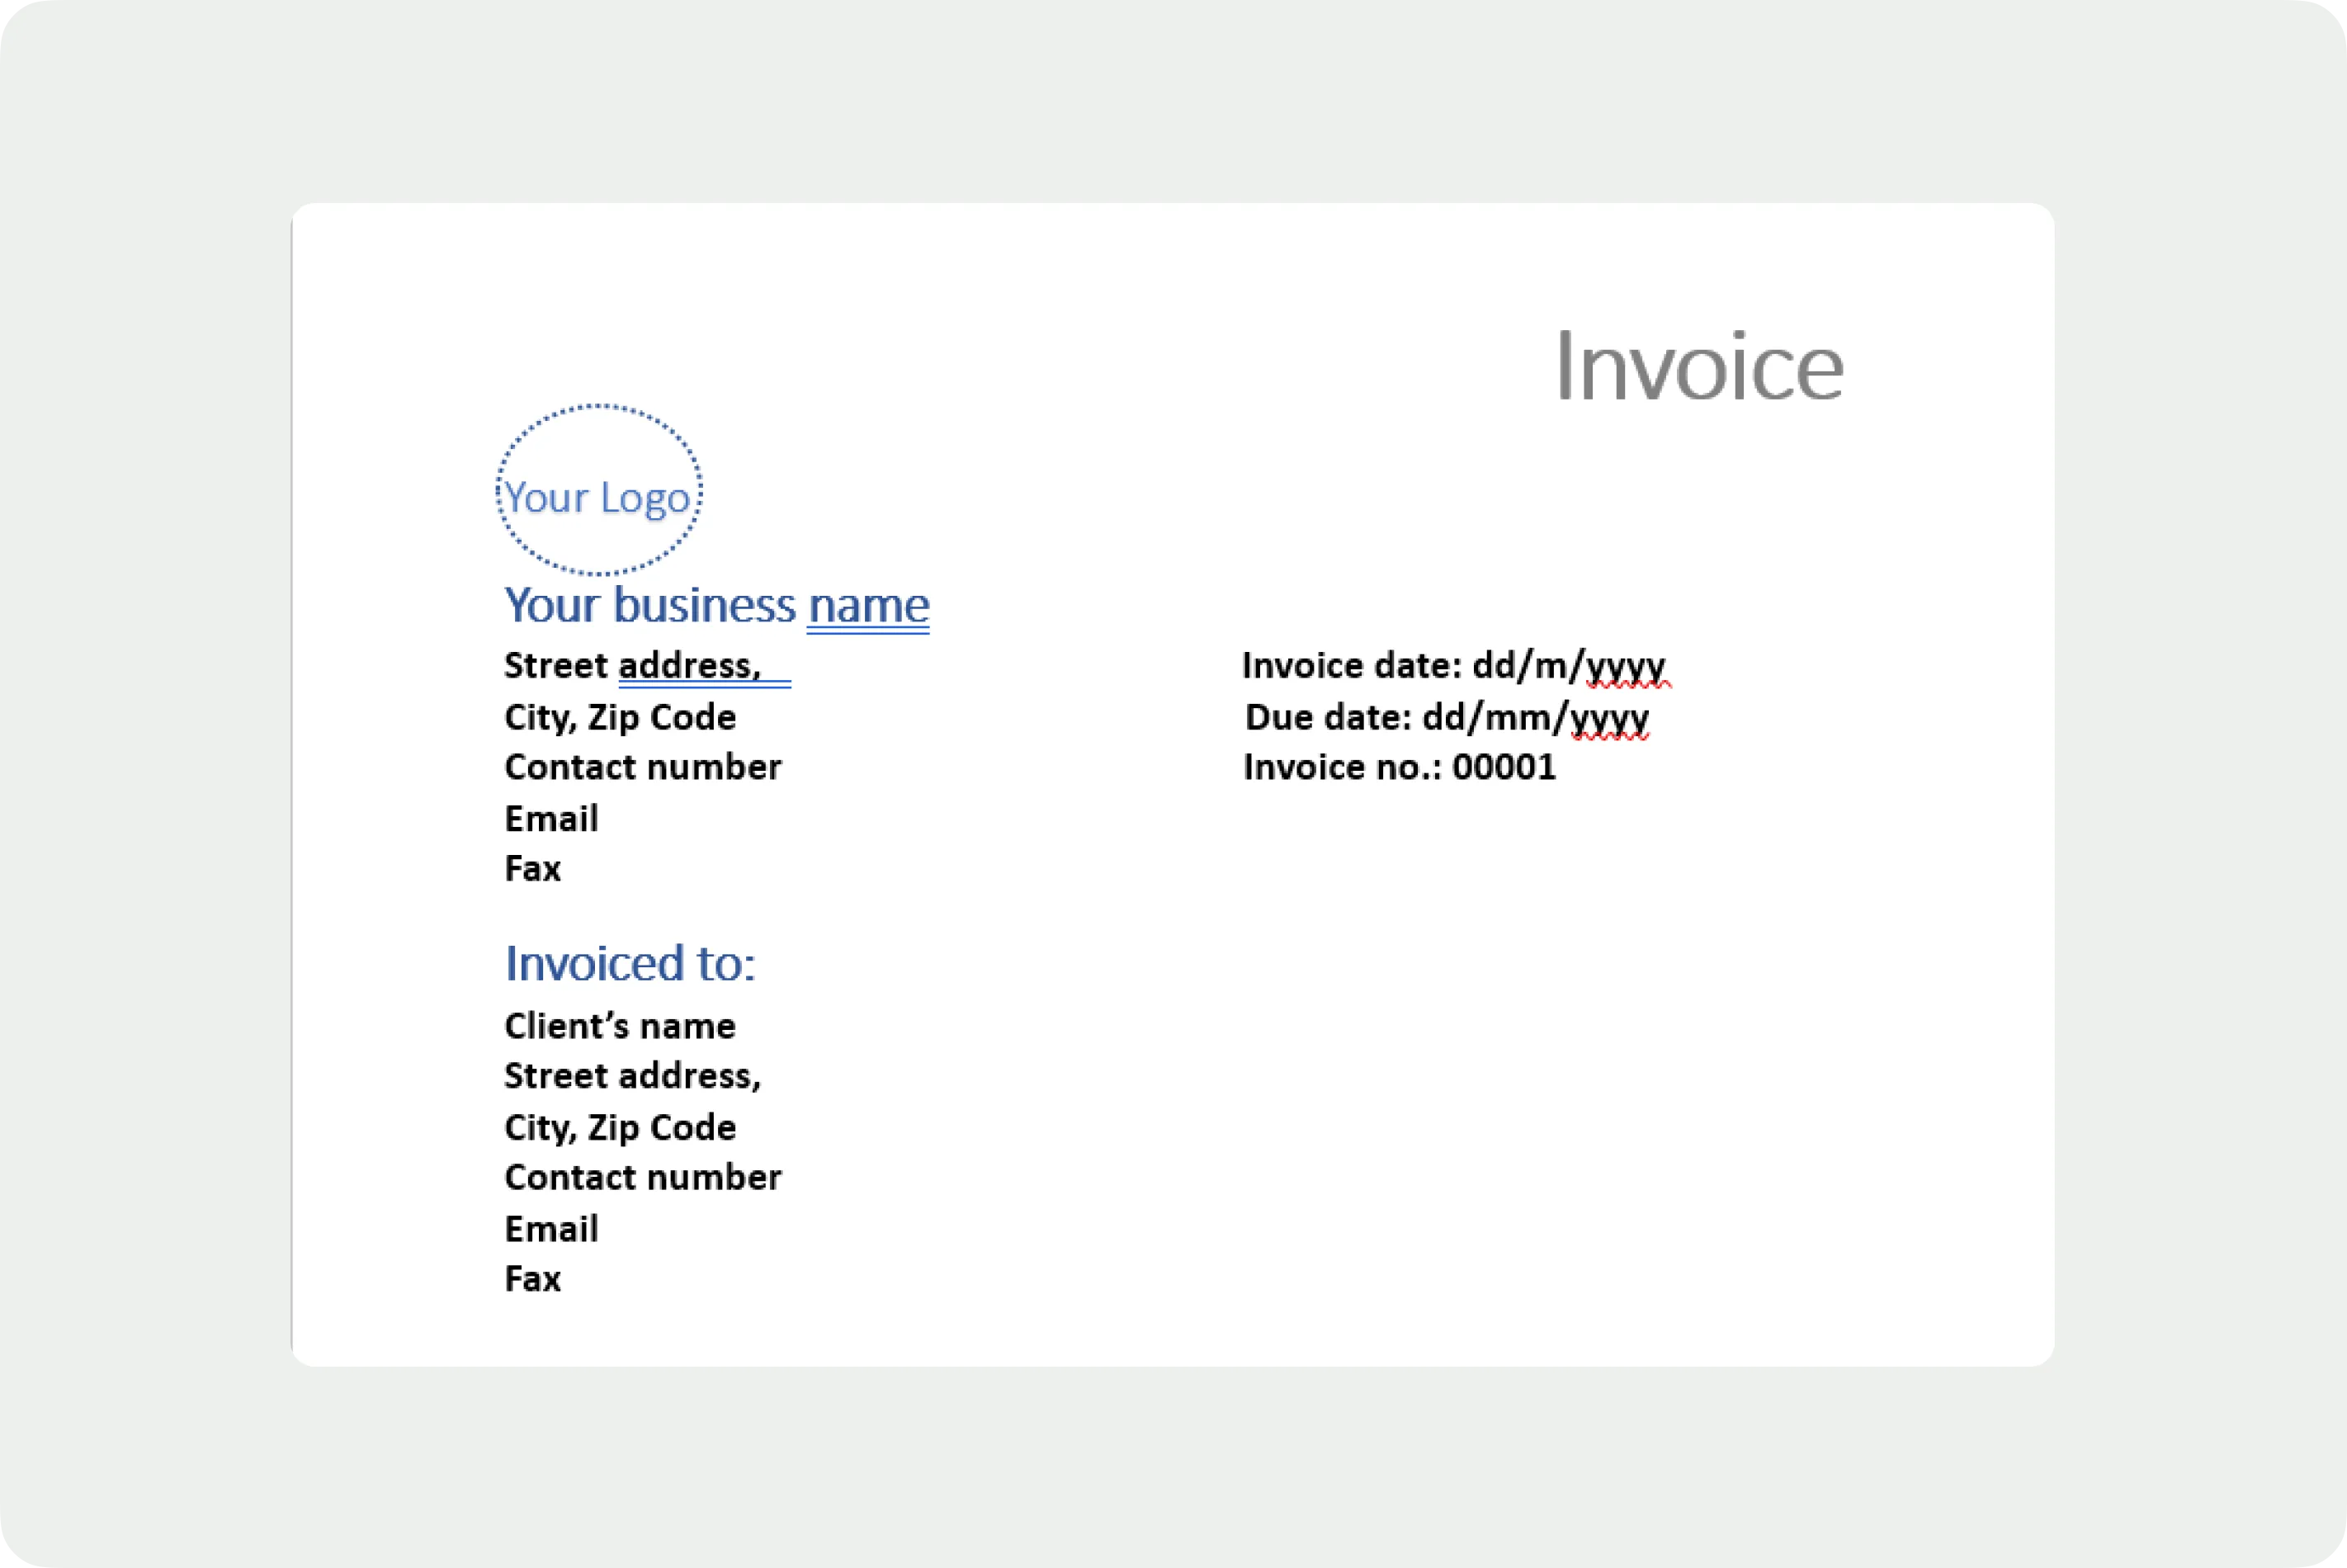
Next is your client's name and contact details like address, contact number, email address, and fax. Prefix this section with "Invoiced to" or "Billed to."
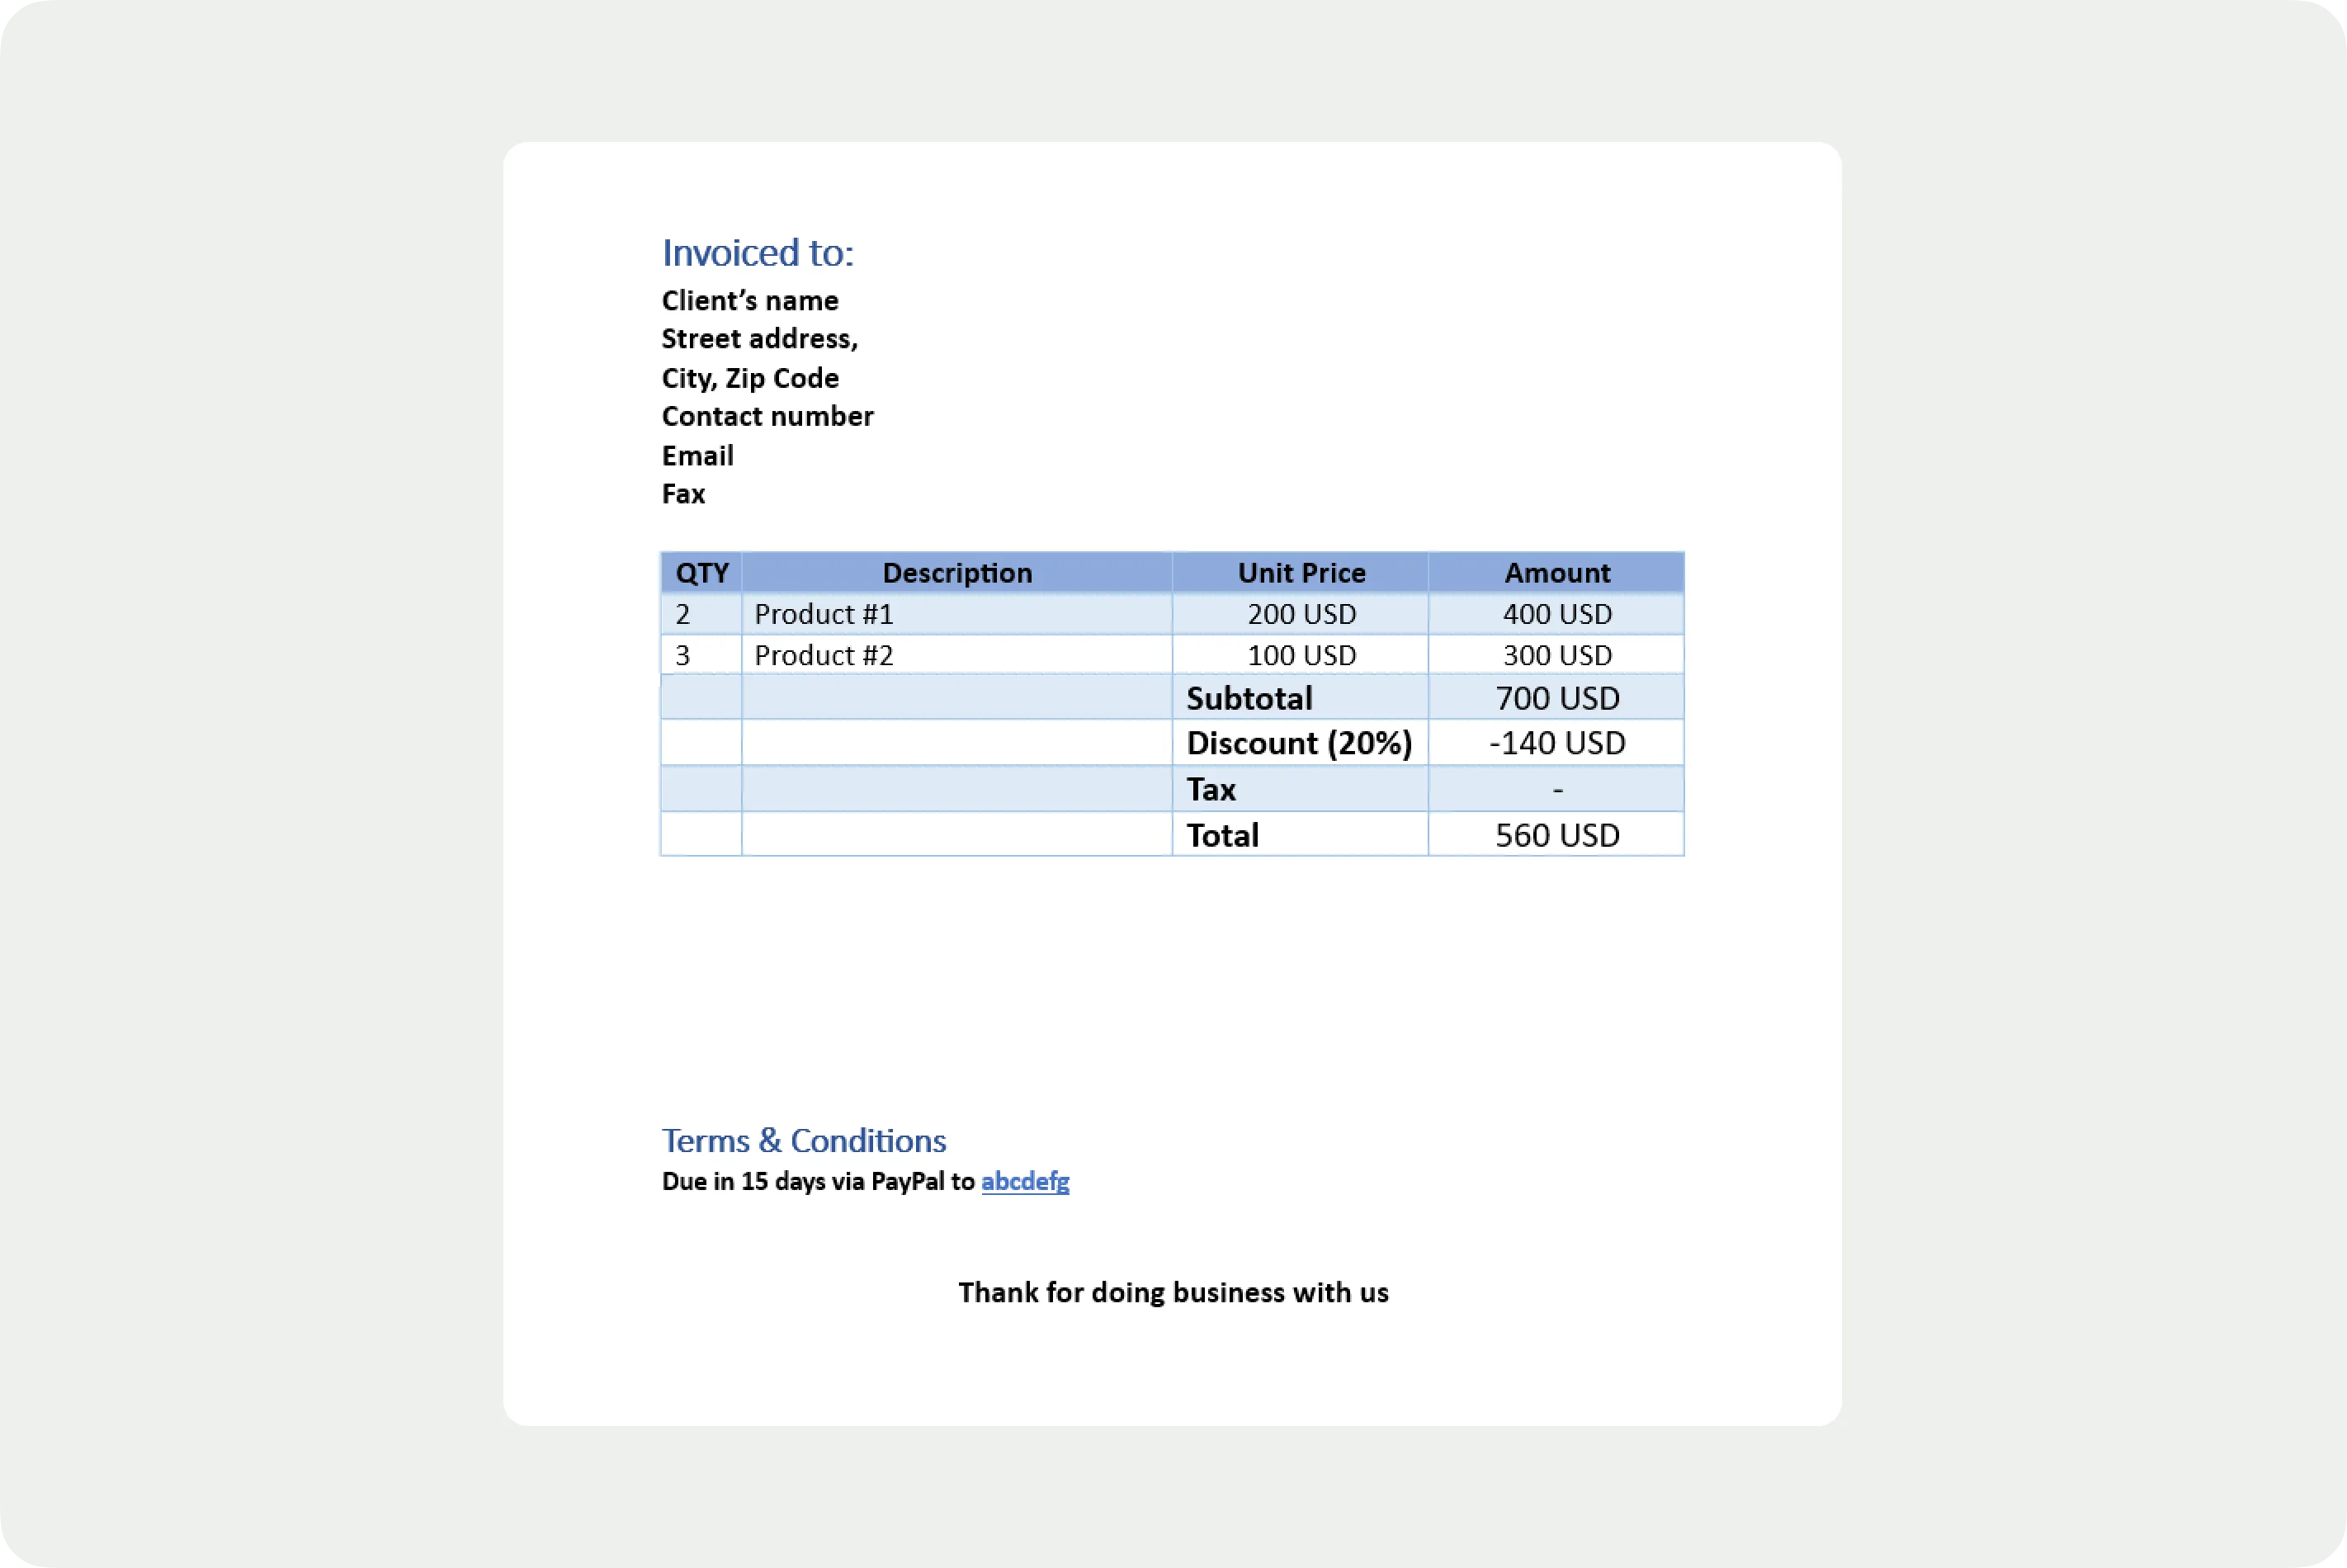
Step 05: Create an itemized list
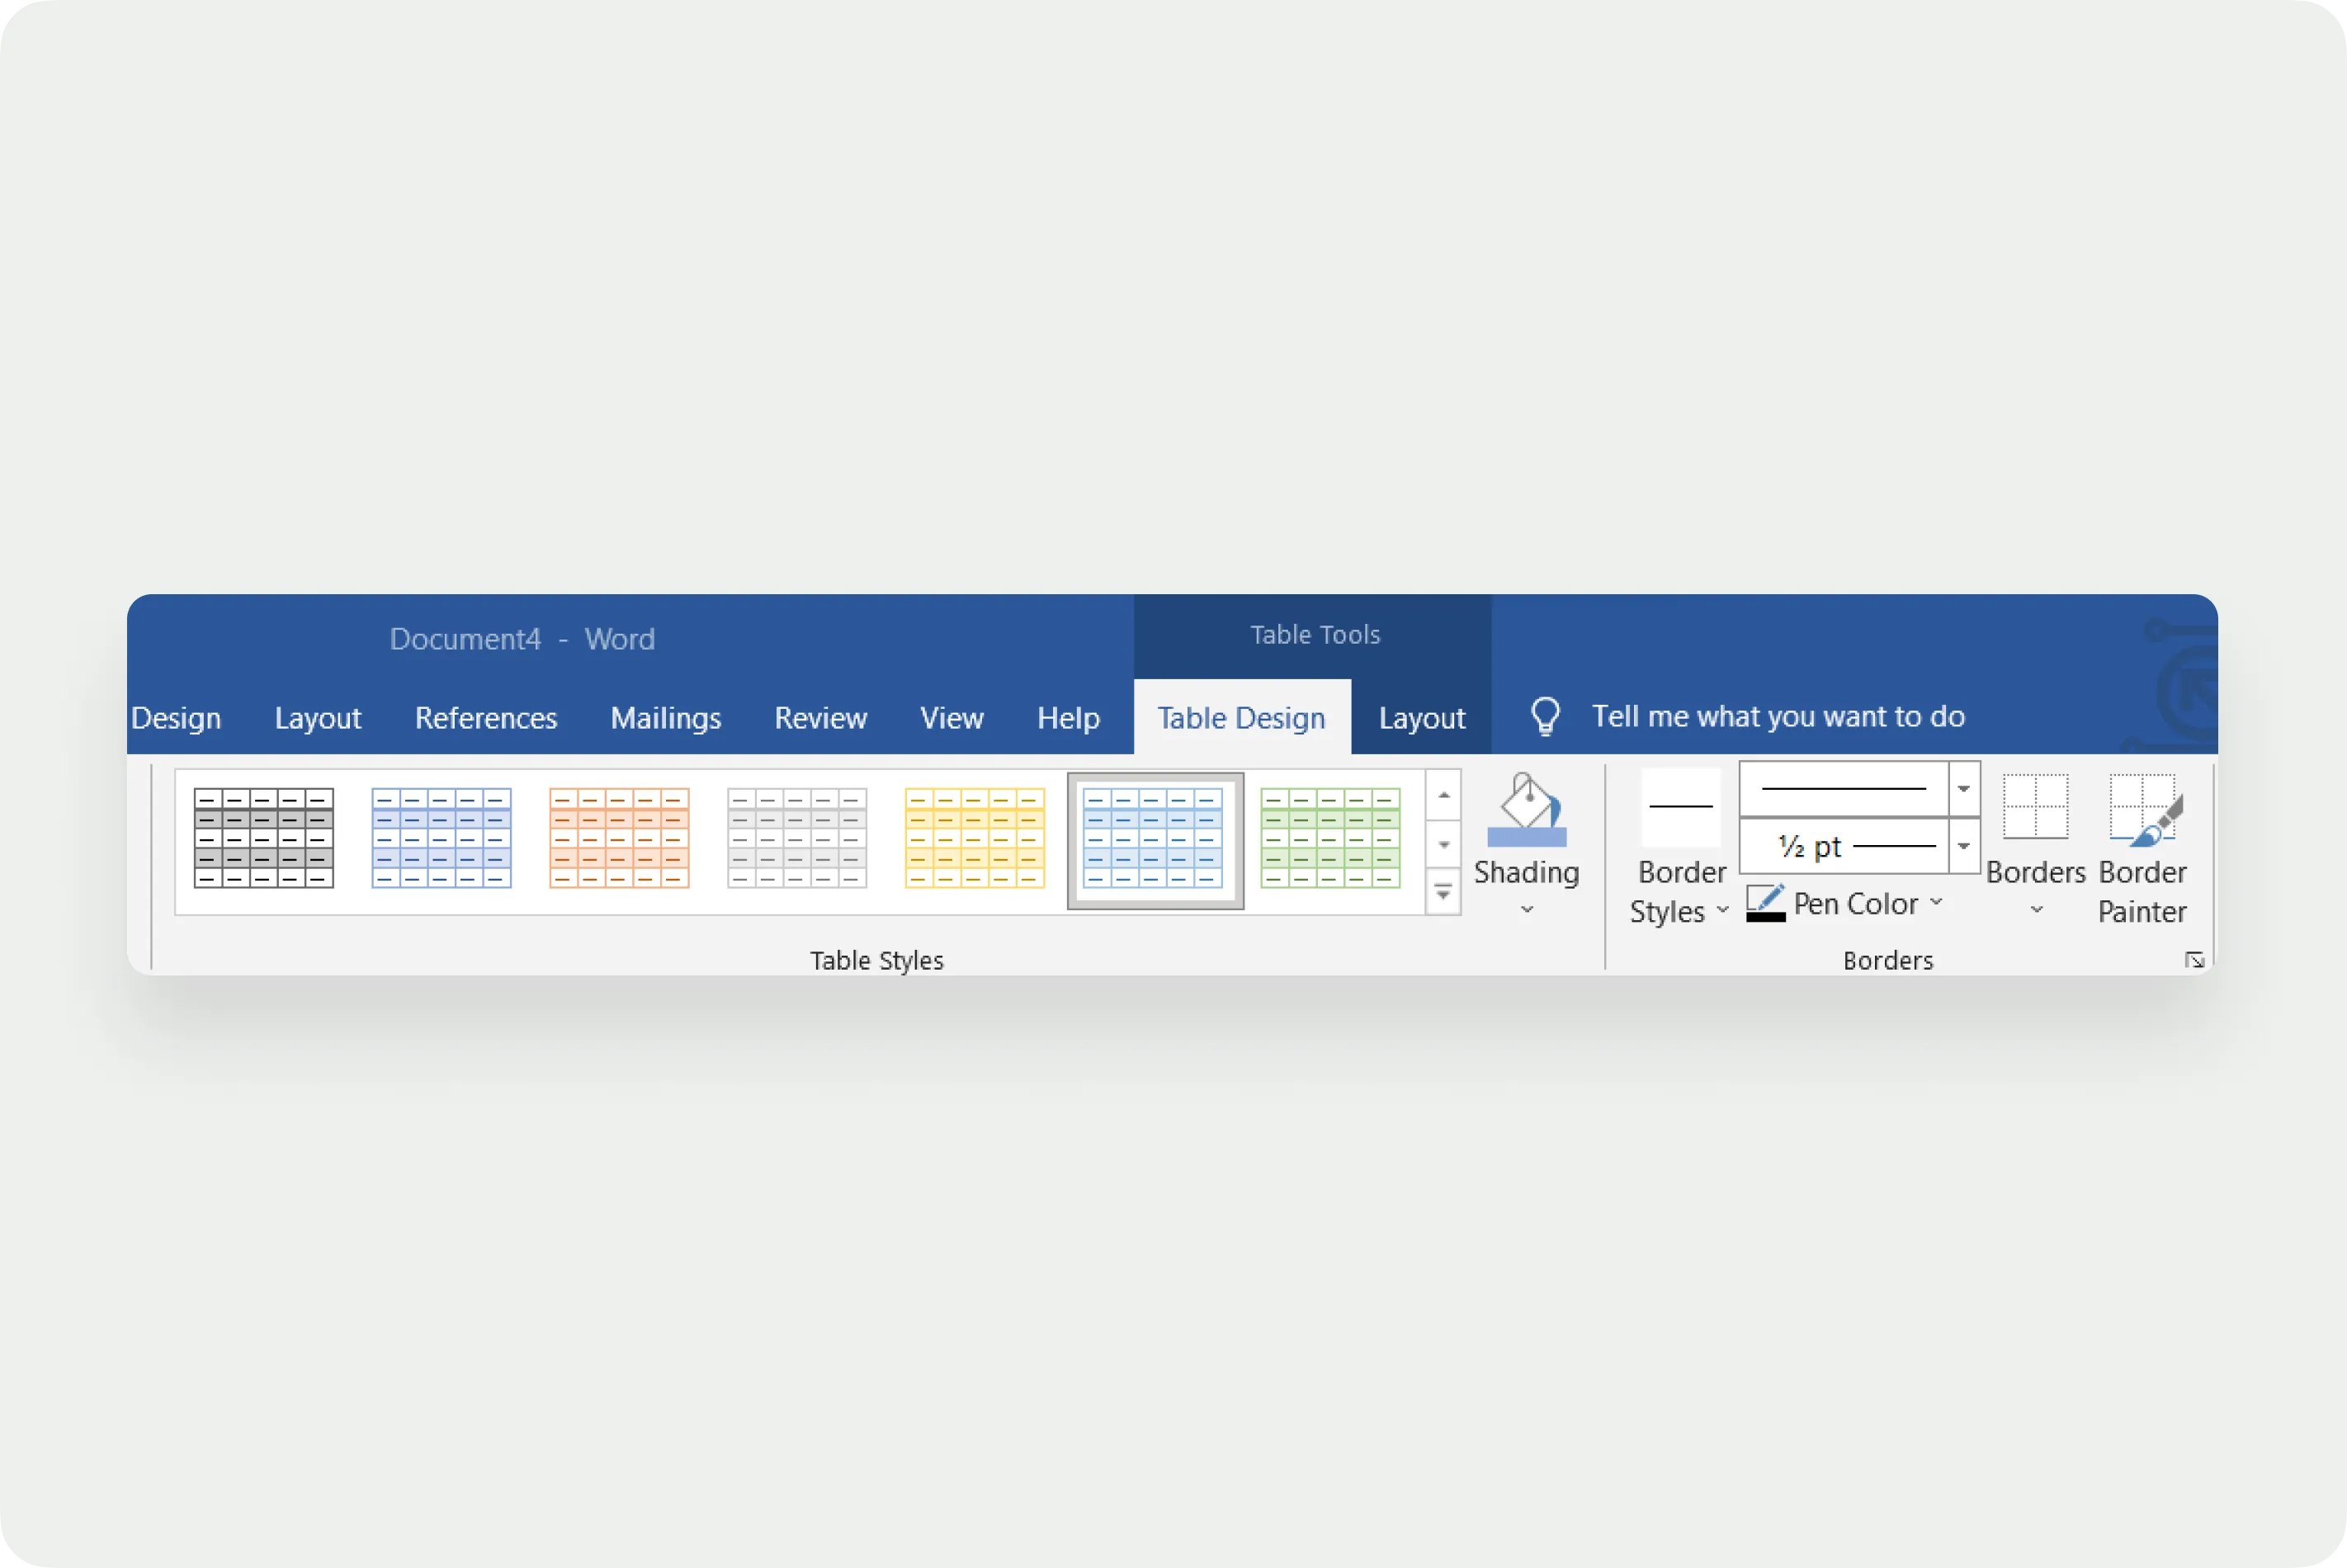
An organized way of creating an itemized list is by inserting tables from the Insert menu. You can make the table look more attractive by editing them further with the "Table design" and
"Layout" menu, which appears on the menu bar after you insert the table.
Insert enough rows and columns to have space for each of the following elements.
- Quantity of the products
- Name and description of the product and services
- Unit price
- Total price for each product under "Amount"
- Subtotal
- Any tax fees
- The total amount due
Step 06: Include your payment terms
The last addition to your invoice will be the payment terms. This includes payment methods you accept, when the payment is due, and any late fee terms. Add a friendly note of gratitude to make your clients feel appreciated and more loyal towards you.
And you're done! Now save and send the invoice to your client through your preferred means.
Also Read: Free Google Docs Invoicing Template
Pros & cons of using MS Word invoices
Here are the benefits and drawbacks of MS Word invoices.
Pros
- MS Word invoice templates are easily accessible.
- The templates are free.
- Highly customizable templates with a variety of editing options, all from fonts, and colors, to business logos.
- Adequate for one-time invoices.
Cons
- Though MS Word is a good processor, it is also expensive.
- Not good for recurring invoices.
- A lot of effort goes into drafting an invoice, especially when creating it from scratch.
- Requires manual editing of the templates every time you want to send an invoice, which can be a tedious and time-consuming task.
- Editing manually each time causes plenty of accounting errors.
- You just don't have a lot of templates to choose from, and they are usually poorly designed
- If there are errors in the invoice, that could be an uncomfortable conversation to have with your clients
Bonsai: A better alternative to MS Word invoices

It's pretty clear that there are more disadvantages to using Word than there are benefits, so we highly recommend that you start using an invoicing solution.
Bonsai is an invoicing software that is already used by more than 15 000 business owners with more than 500 templates ready to use! Using Bonsai's templates will save you precious hours spent on formatting.
In addition to generating professional invoices, it automatically creates your next invoice, notifies you if your client is late in their payments, and is much more secure than MS Word invoices. You can also set up recurring invoices, accept global payments, and get paid faster!
Conclusion
MS Word is a reliable tool for many businesses. However, when it comes to creating invoices, you can always look for a better alternative which is faster and more professional.
With Bonsai's amazing features, you get your work done and get paid faster. So, sign up for Bonsai !


'%3e%3cg id='Final-Copy-2_2_' transform='translate(1275.000000, 200.000000)'%3e%3cpath class='st0' d='M7.4,12.8h6.8l3.1-11.6H7.4C4.2,1.2,1.6,3.8,1.6,7S4.2,12.8,7.4,12.8z'/%3e%3c/g%3e%3c/g%3e%3c/g%3e%3cg id='final---dec.11-2020'%3e%3cg id='_x30_208-our-toggle' transform='translate(-1275.000000, -200.000000)'%3e%3cg id='Final-Copy-2' transform='translate(1275.000000, 200.000000)'%3e%3cpath class='st1' d='M22.6,0H7.4c-3.9,0-7,3.1-7,7s3.1,7,7,7h15.2c3.9,0,7-3.1,7-7S26.4,0,22.6,0z M1.6,7c0-3.2,2.6-5.8,5.8-5.8 h9.9l-3.1,11.6H7.4C4.2,12.8,1.6,10.2,1.6,7z'/%3e%3cpath id='x' class='st2' d='M24.6,4c0.2,0.2,0.2,0.6,0,0.8l0,0L22.5,7l2.2,2.2c0.2,0.2,0.2,0.6,0,0.8c-0.2,0.2-0.6,0.2-0.8,0 l0,0l-2.2-2.2L19.5,10c-0.2,0.2-0.6,0.2-0.8,0c-0.2-0.2-0.2-0.6,0-0.8l0,0L20.8,7l-2.2-2.2c-0.2-0.2-0.2-0.6,0-0.8 c0.2-0.2,0.6-0.2,0.8,0l0,0l2.2,2.2L23.8,4C24,3.8,24.4,3.8,24.6,4z'/%3e%3cpath id='y' class='st3' d='M12.7,4.1c0.2,0.2,0.3,0.6,0.1,0.8l0,0L8.6,9.8C8.5,9.9,8.4,10,8.3,10c-0.2,0.1-0.5,0.1-0.7-0.1l0,0 L5.4,7.7c-0.2-0.2-0.2-0.6,0-0.8c0.2-0.2,0.6-0.2,0.8,0l0,0L8,8.6l3.8-4.5C12,3.9,12.4,3.9,12.7,4.1z'/%3e%3c/g%3e%3c/g%3e%3c/g%3e%3c/g%3e%3c/svg%3e)