


To create an invoice in Excel, start by opening Microsoft Excel and navigating to the templates gallery. Search for 'invoices' and select a template that suits your needs. Customize the template by adding your business details, client information, and itemized list of services or products. Ensure to include payment terms and the total amount due. Once completed, save the invoice and send it to your client. Using Excel templates streamlines the invoicing process, ensuring accuracy and professionalism. This method is ideal for small businesses looking to maintain efficient billing practices without additional software costs.
How to make an invoice in Excel using a template?
Here is the step-by-step guide to making an invoice using Excel invoice templates.
Step 01: Open the templates page in Excel
When you open MS Excel, it will direct you to a document gallery where you’ll find template suggestions on top. Just below these suggestions will be a small “More Templates” button, which will take you to the templates gallery.

Step 02: Search “invoices” and choose an Excel invoice template
Once you are in the template gallery, look for MS Excel invoice templates by searching “invoice” in the search bar. Now that you have access to Excel invoice templates, search for a template that suits your requirements or one that requires minimum editing and has all of the appropriate elements of an invoice.

Click on the invoice template to select, and click on the “create” button to start editing.

Step 03: Start customizing the template
You have your template; now, all it requires is incorporating it with your data. Each section of the MS Excel invoices template has sample information to guide you on what to include.
Once again, ensure the template comprises everything you need and has all the elements of an invoice.

An invoice template should have spaces for each of the following elements:
- “Invoice” in the header
- Your business name, address, and contact details
- Client’s name, address, and contact details
- Your business logo
- Invoice date, due date, and invoice number for easy reference
- A descriptive itemized list of goods and services
- Subtotal of every product and service
- Any tax or discounts, followed by the total amount
- Payment terms and conditions
Step 04: Save and send the invoice
When you are done editing the Excel invoice template, go to the file menu and save the document. It is best recommended to save the Excel document in PDF format to avoid document compatibility issues. Saving in PDF format also ensures that the client receives a non-editable document.

Your invoice is ready to be delivered! Now, it’s up to you – whether to send it by email or have it faxed.
How to make an Excel invoice from scratch?
If you can’t find an ideal invoice template among the Excel invoice templates and want to create it from scratch, then we’ve got you covered there too. Here’s a step-by-step guide for how to make an invoice in Excel from scratch.
Step 01: Open a blank worksheet in Excel
When you open MS Excel, it will direct you to a document gallery where you’ll find a template suggestion column on top. Select the “Blank workbook,” directing you to a blank spreadsheet to work with.

Step 02: Check off the gridlines
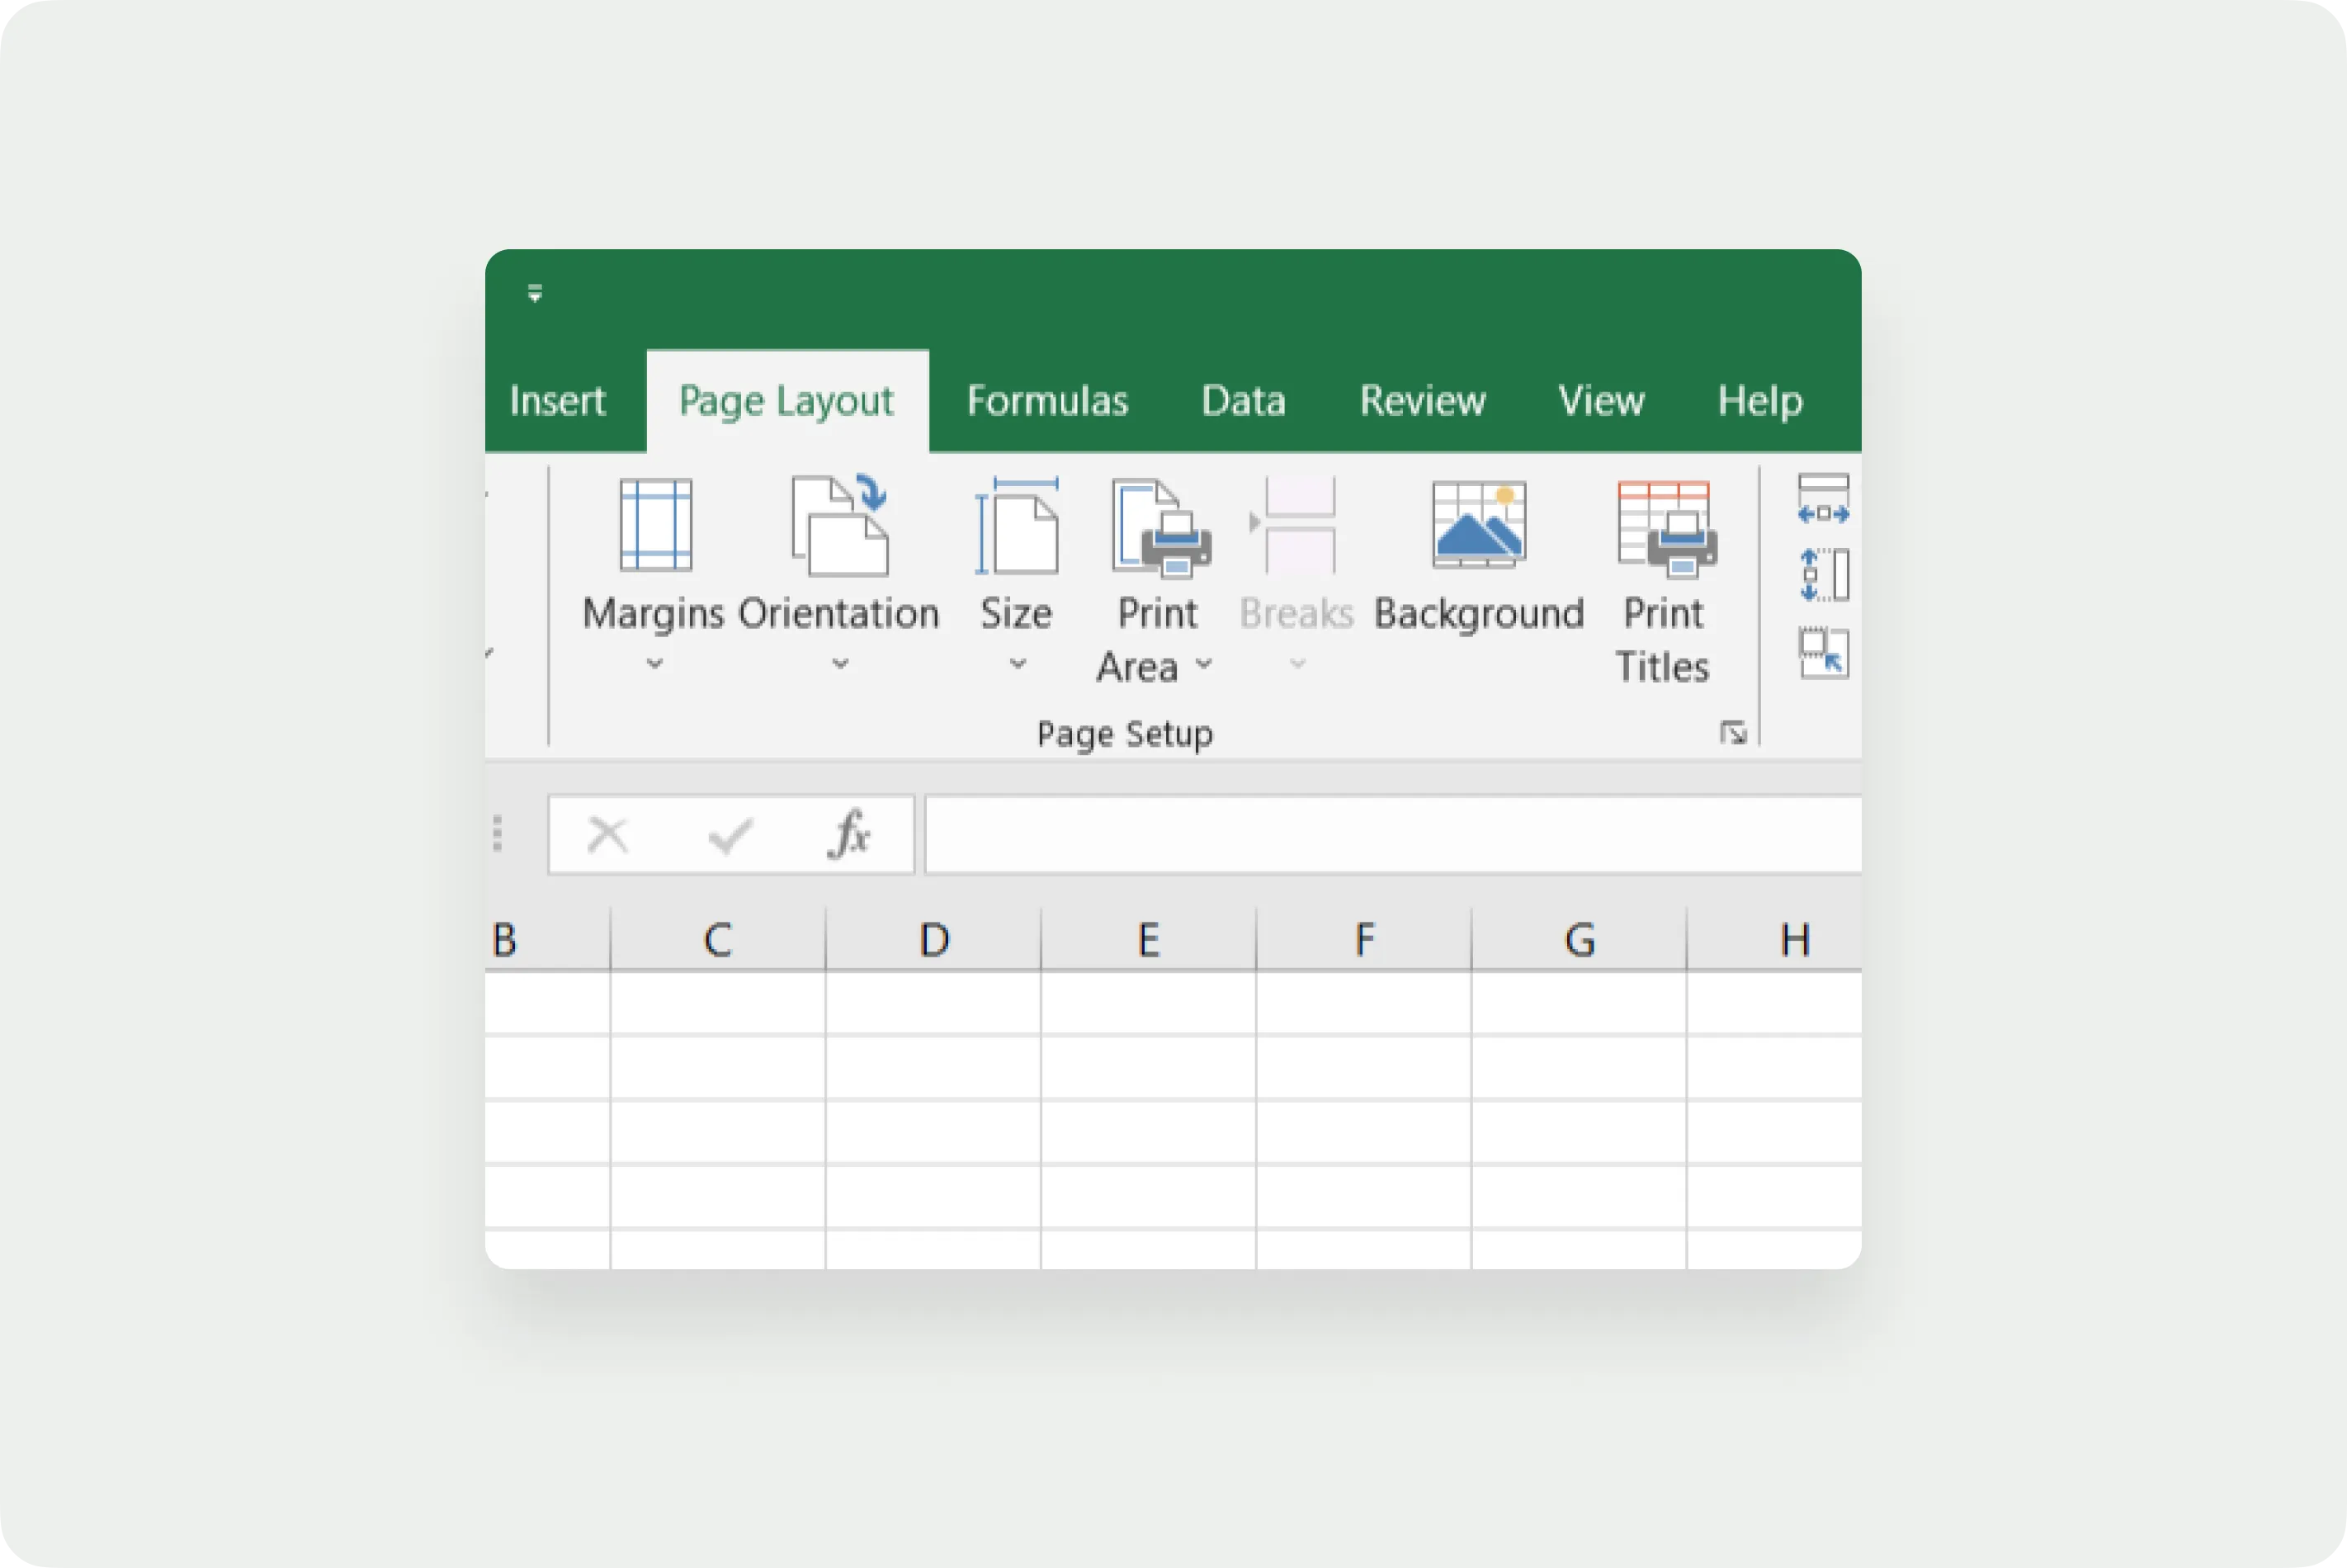
The first thing to do is get rid of the gridlines. Click on the “Page Layout” menu on the menu bar. Go to the section named “sheet option” and uncheck the “view” under gridlines.
Step 03: Add header
Identify the document with “Invoice” in the header format. Go to the Insert menu and find the “Text” section on the right side of the menu tools. Insert the header from the “Header & Footer” option. You can change its font, size, and color to your preference.

Once you’ve added the header, you can add your business logo on the header row or in a cell below. Next, add your business name, address, and contact details.
Step 04: Add invoice date, due date, and invoice number
Add your invoice date, due date, and invoice number correspondence to your business name and contact details.
Step 05: Add the client’s details
Next, below your information, add your client’s details to whom you are invoicing while prefacing this section with “To,” “Invoiced to,” or “Billed to.” Include their name, address, and contact details, such as email, fax, and contact number.

Step 06: Create an itemized list
Create an itemized list of goods and services using Table format. Go to the Insert menu and add a table by selecting the position and number of rows and columns where you want the table. You can change your table style under the “Table Design” menu that appears after you add a table.

Name the rows appropriately with the following elements and terms:
- Quantity of the product and services with “QTY” in short
- Name or description of the product and services under “Description”
- Prices per unit
- The total amount of each product and service under “Amount”
- Subtotal
- Any tax or discounts
- The total

Step 07: Total the amount using “AutoSum”
One good thing about using MS Excel invoice templates is you shortcut your calculating process with the AutoSum option, which automatically adds your total. Select the columns you want a total for, and then go to the Home menu. Find the AutoSum option on the right side of the menu tool under the Editing section.
Step 08: Include payment terms (and an additional note)
Finally, add your payment terms and conditions. The terms can include the number of days to pay the due amount, your preferred mode of payment, and an additional note of thanks to make your clients feel appreciated.
Step 09: Save and send your invoice
Your invoice is complete; now it’s ready to be delivered. However, before sending the invoice, make sure to save the document. As mentioned before in the article, saving the MS Excel invoice in PDF format is recommended for security purposes.
Btw, we have a FREE Excel invoice template to make your job easier. But before using that, read below.
Word Invoice vs Excel Invoice: Which is better?
Let’s face the truth; there aren’t many differences between Word and Excel invoices. So when it comes to creating invoices, any invoice template is valid – as long as it meets all the vital requirements. Even so, there are certain notable points.
For instance, when it comes to MS Excel, it’s all about functions and algorithms, where the total sum is calculated automatically. However, Excel is a highly complex program, and you may need more than a little knowledge and experience to make your calculations on point.
Compared to MS Excel, Word has an easy and more approachable interface. However, even with MS Word invoicing, you’ll need a little more knowledge to get your sum calculated automatically and be on point.
And even though both Excel and Word are good processors, you may want something more advanced for professional and recurring invoices. What’s more, there’s also a chance of file corruption and security issues with MS Word and Excel.
Bottom line: Neither Word nor Excel can guarantee error-free invoices, especially if you are drafting them from scratch. So how do you come up with a professional and error-free invoice? Fortunately, we found intelligent life far and beyond the reach of Word and Excel: Invoicing Software, such as HelloBonsai.
Bonsai: An automated invoicing tool

Bonsai is one of the hottest software in the market, with an advanced-yet-simple solution that helps small businesses and freelancers. It comes with a whole invoicing management system, which comprises features like free invoices, automated reminders, invoice generations, time-tracking, and, most of all, recurring professional invoices that help you with quicker payments and consistent cash flow.
Having a reliable automated invoicing tool with all the above features eliminates the need to waste valuable time formatting, sending manually, and saving all of the invoice files. It also allows you to accept direct and global payments. But you know what’s better? With this, you are always punctual with your invoice submissions, which leaves a better impression on your clients, strengthening your professional relationship.

Conclusion
Even though creating invoices is an important feat in a smooth-sailing business, generating professional invoices every time you need to send one is more vital. But sadly, MS Excel invoices might not be professional or accurate enough for some businesses.
Ease up, though! We've uprooted that problem with an alternative solution, Bonsai – an automated invoicing tool. It doesn't only automate the invoicing process but also eliminates the need to waste valuable time formatting invoices manually, setting recurring invoices, tracking time, and more. It’s a beacon you’ve been waiting for! So, wait no longer and sign up for Bonsai to get paid faster!


'%3e%3cg id='Final-Copy-2_2_' transform='translate(1275.000000, 200.000000)'%3e%3cpath class='st0' d='M7.4,12.8h6.8l3.1-11.6H7.4C4.2,1.2,1.6,3.8,1.6,7S4.2,12.8,7.4,12.8z'/%3e%3c/g%3e%3c/g%3e%3c/g%3e%3cg id='final---dec.11-2020'%3e%3cg id='_x30_208-our-toggle' transform='translate(-1275.000000, -200.000000)'%3e%3cg id='Final-Copy-2' transform='translate(1275.000000, 200.000000)'%3e%3cpath class='st1' d='M22.6,0H7.4c-3.9,0-7,3.1-7,7s3.1,7,7,7h15.2c3.9,0,7-3.1,7-7S26.4,0,22.6,0z M1.6,7c0-3.2,2.6-5.8,5.8-5.8 h9.9l-3.1,11.6H7.4C4.2,12.8,1.6,10.2,1.6,7z'/%3e%3cpath id='x' class='st2' d='M24.6,4c0.2,0.2,0.2,0.6,0,0.8l0,0L22.5,7l2.2,2.2c0.2,0.2,0.2,0.6,0,0.8c-0.2,0.2-0.6,0.2-0.8,0 l0,0l-2.2-2.2L19.5,10c-0.2,0.2-0.6,0.2-0.8,0c-0.2-0.2-0.2-0.6,0-0.8l0,0L20.8,7l-2.2-2.2c-0.2-0.2-0.2-0.6,0-0.8 c0.2-0.2,0.6-0.2,0.8,0l0,0l2.2,2.2L23.8,4C24,3.8,24.4,3.8,24.6,4z'/%3e%3cpath id='y' class='st3' d='M12.7,4.1c0.2,0.2,0.3,0.6,0.1,0.8l0,0L8.6,9.8C8.5,9.9,8.4,10,8.3,10c-0.2,0.1-0.5,0.1-0.7-0.1l0,0 L5.4,7.7c-0.2-0.2-0.2-0.6,0-0.8c0.2-0.2,0.6-0.2,0.8,0l0,0L8,8.6l3.8-4.5C12,3.9,12.4,3.9,12.7,4.1z'/%3e%3c/g%3e%3c/g%3e%3c/g%3e%3c/g%3e%3c/svg%3e)